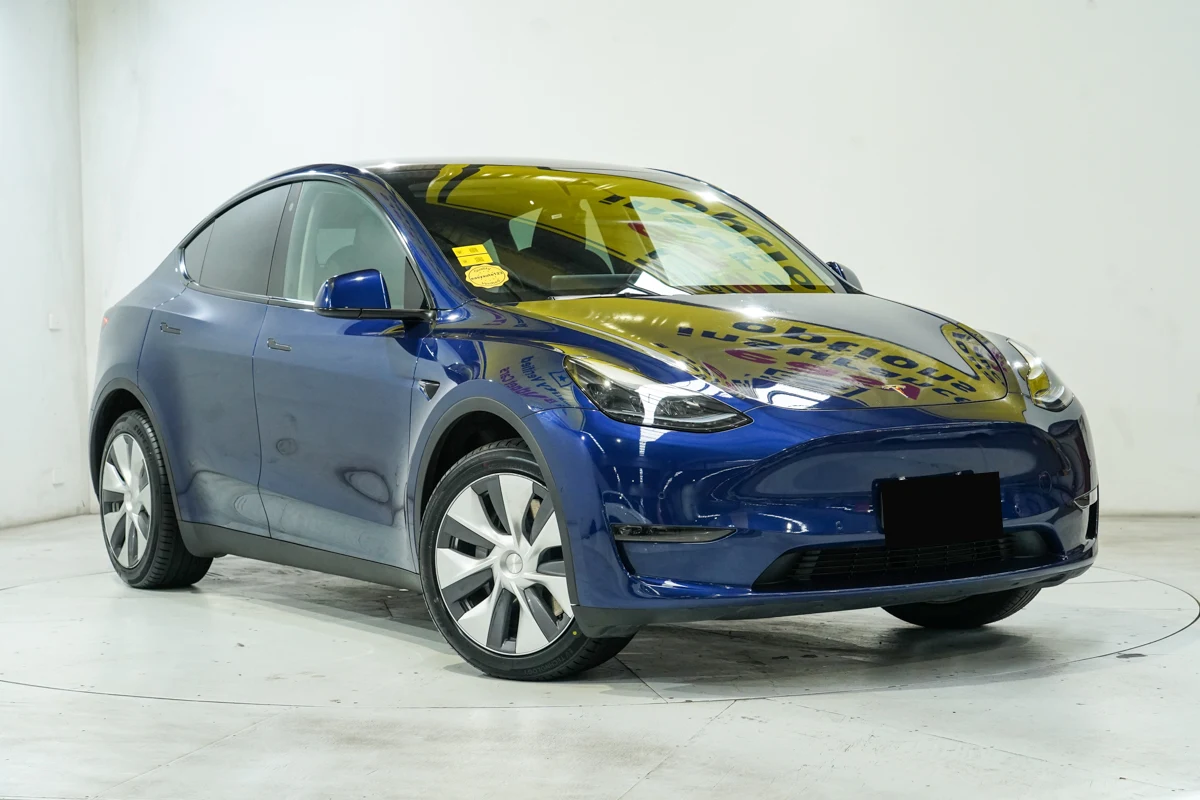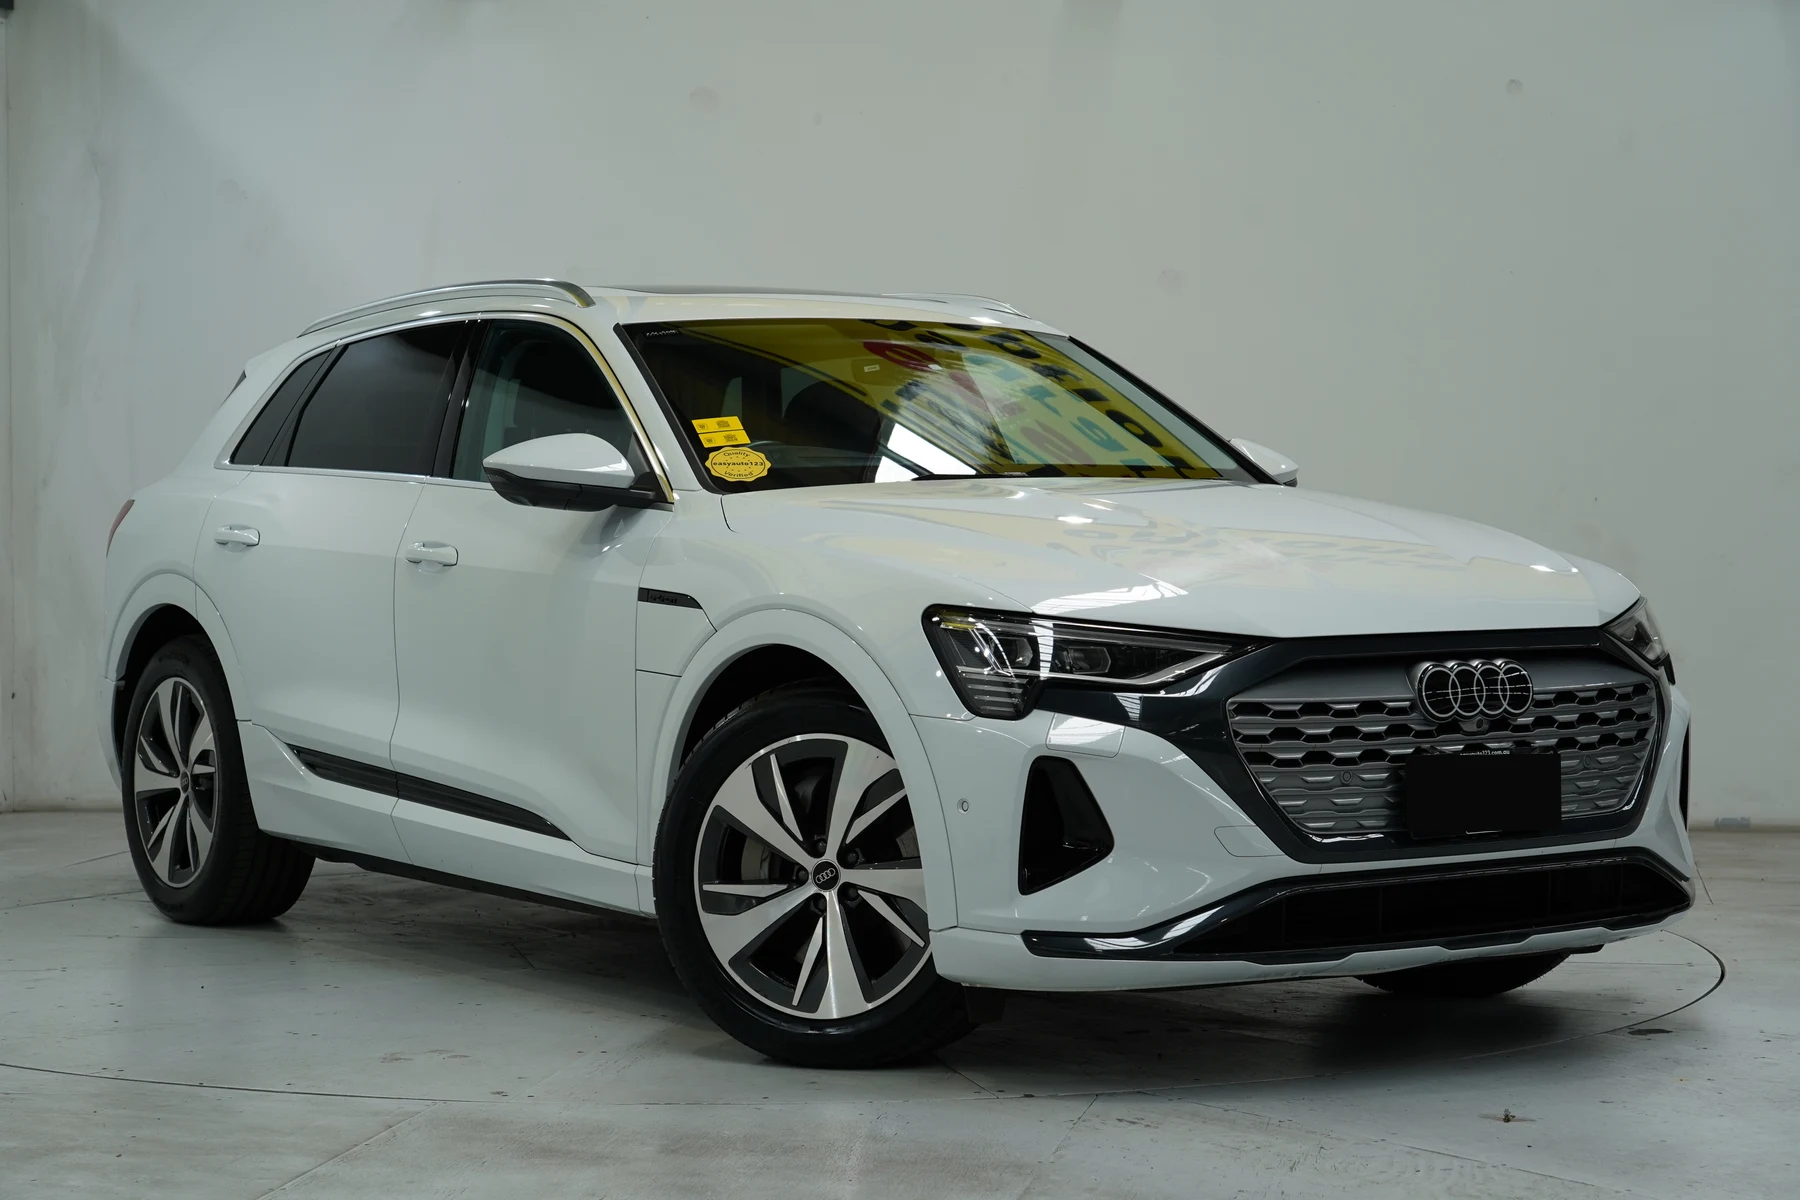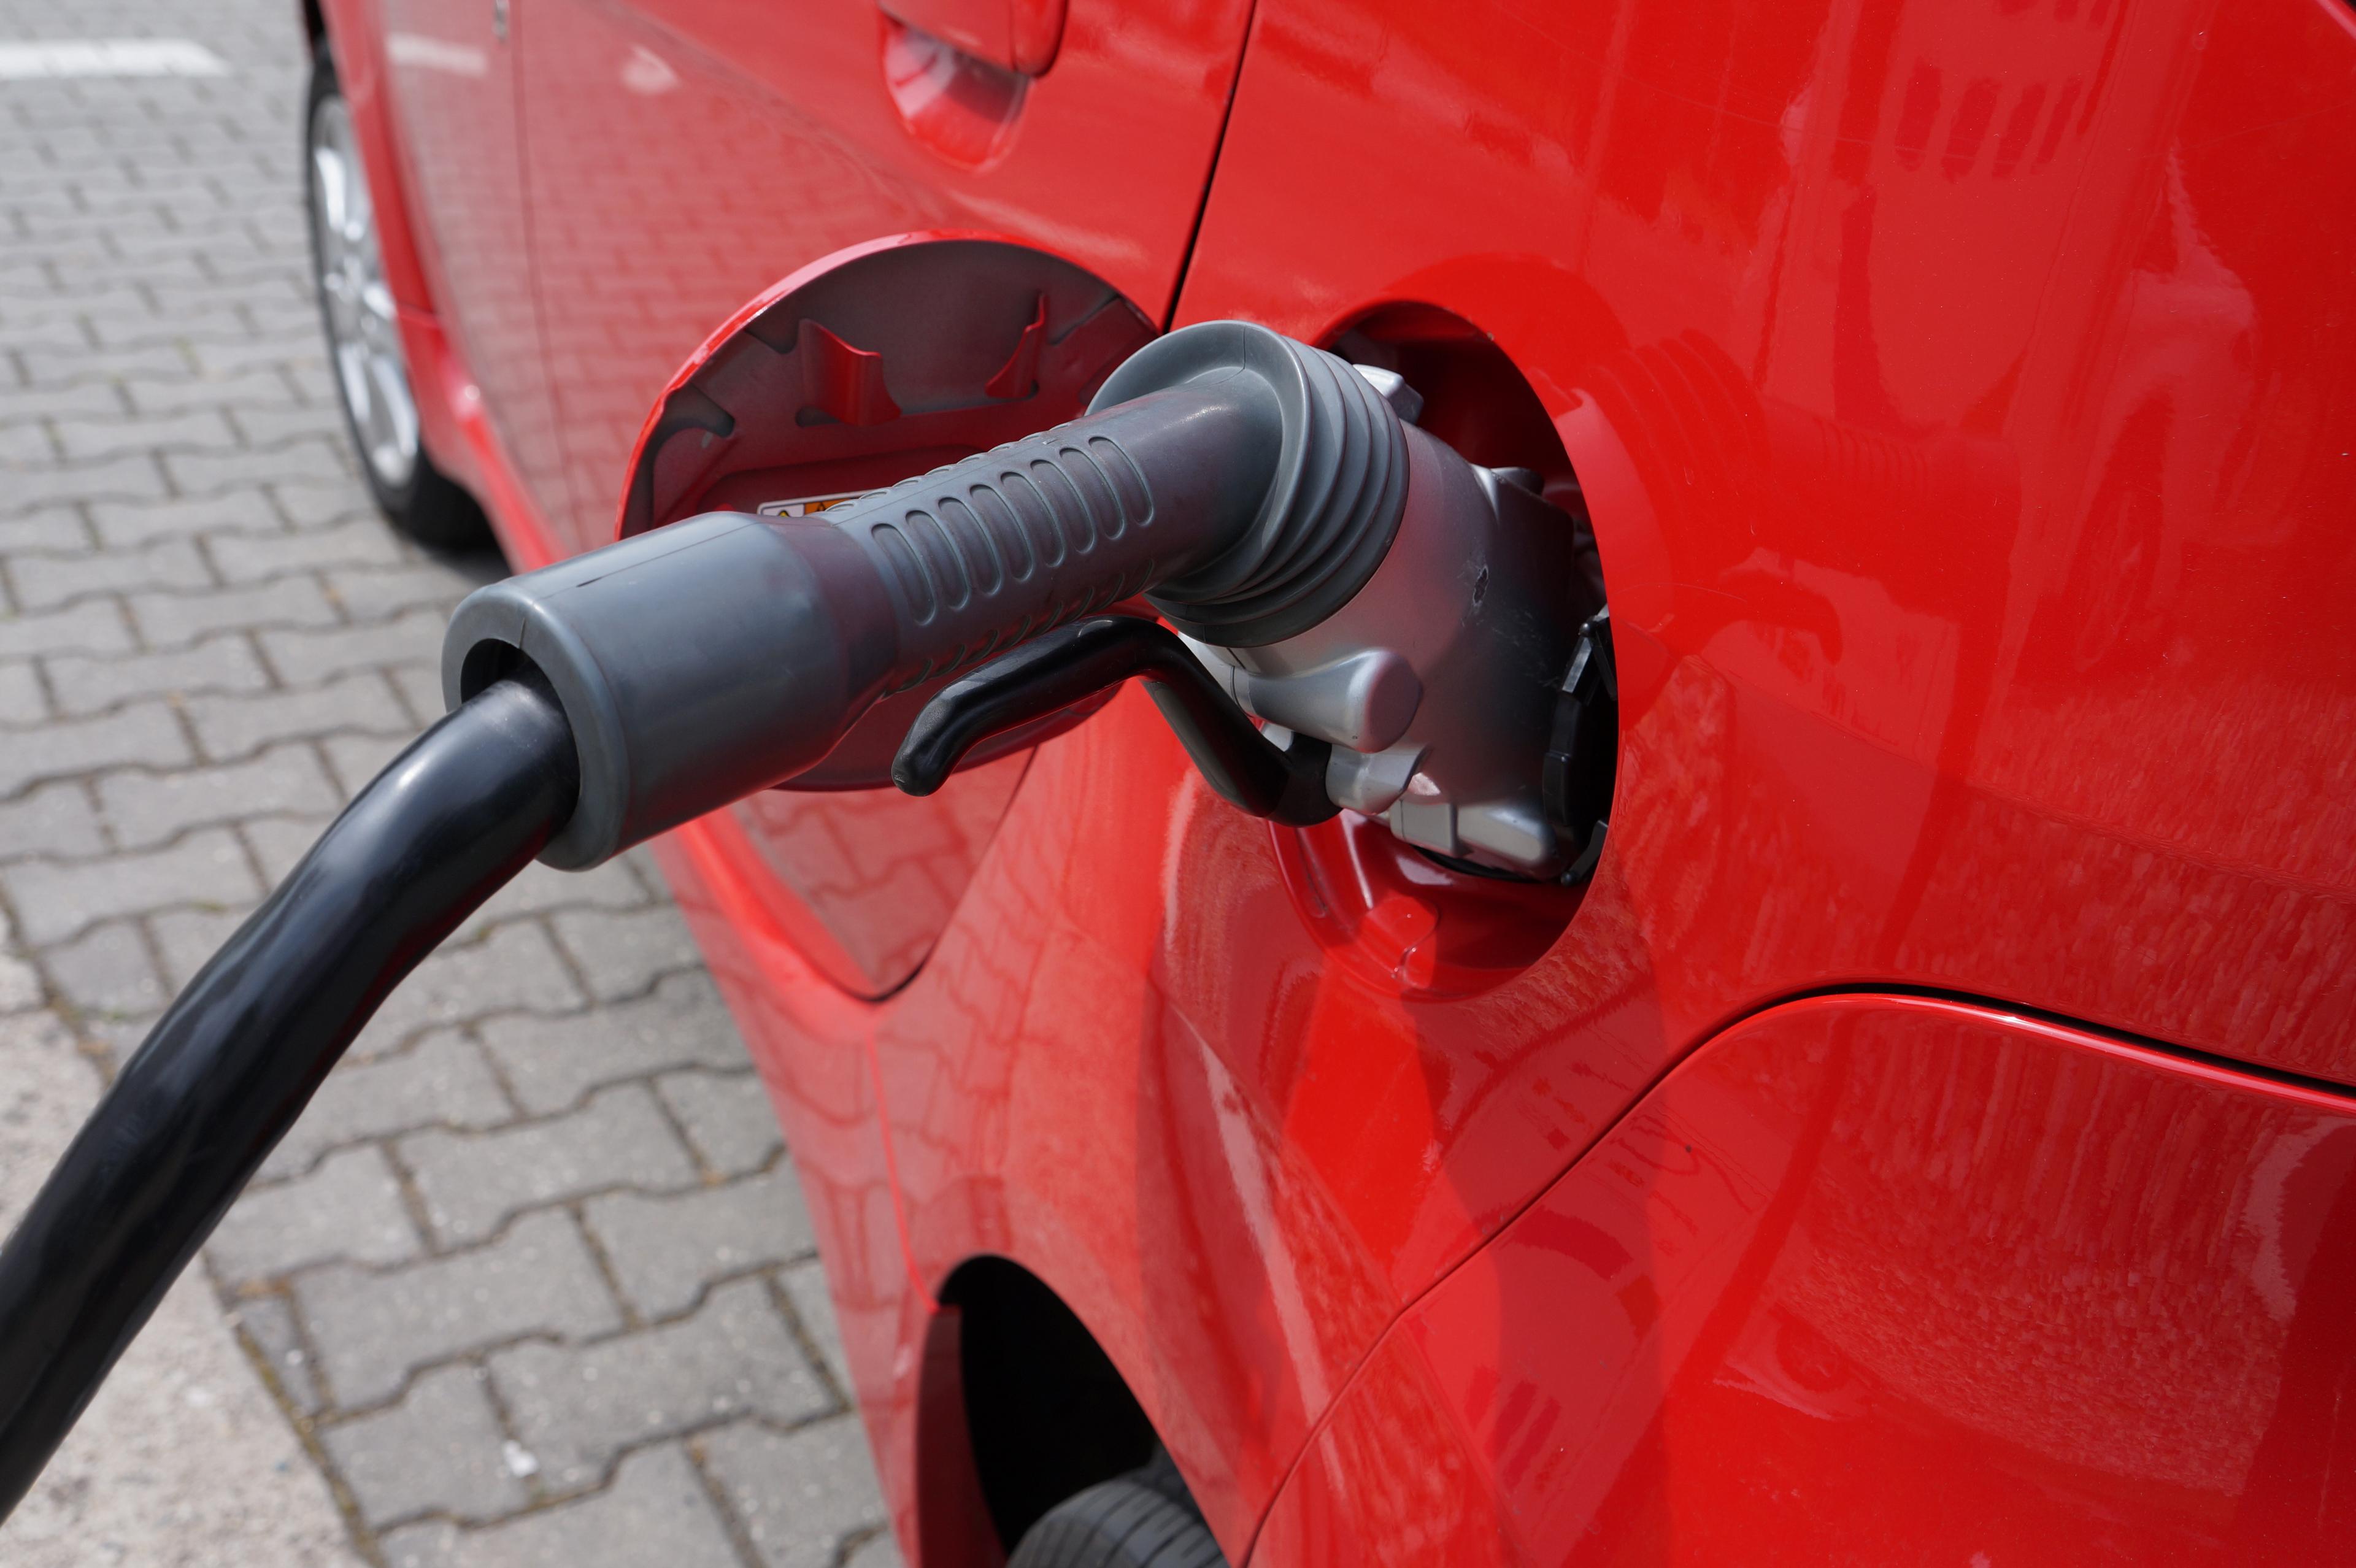
A CHAdeMO fast-charging connector attached to an electric car. Illustrative charging context, not a charging-rate test. Previews may crop the photograph.
An EV charging curve describes how charging power changes during a session. A peak kW figure tells you a maximum under particular conditions; it does not tell you how long the car holds that rate.
The Australian Government's charging-equipment guidance identifies the vehicle, charger and battery conditions as factors in charging performance. Tesla's Australian Supercharging guidance also lists battery state of charge, temperature, pack characteristics and configuration as relevant factors.
Compare the same charging window
Before comparing two advertised times, write down the starting and ending battery percentages, charger capability and test conditions. A short stop starting with a low battery is a different task from topping up a battery that is nearly full.
Ask for Australian specifications for the actual variant. Check whether the stated time assumes battery preconditioning and whether your intended route offers compatible charging equipment.
Record the date of the specification. A future charger announcement does not establish what a roadside stop can deliver today. Our Flash-charging explainer provides announcement context; this worksheet is for comparing the complete session.
Calculate average power from a clear example
Here is a hypothetical calculation, not a vehicle test. If a charger delivers 42 kWh in 30 minutes, the session's average input power is 84 kW: 42 divided by half an hour.
The display might briefly have shown 150 kW. That does not change the 84 kW average across this chosen window. Neither figure establishes how far that energy will take a particular car.
Keep energy measured at the charger separate from a change in the battery's stored energy. Do not assume every delivered kilowatt-hour becomes usable driving energy.
Turn the calculation into a road-trip decision
Write a line for each candidate: start percentage, finish percentage, energy added, elapsed charging time, charger type and observed conditions. Use comparable independently documented data where available, and label manufacturer claims as claims.
Then add the non-charging parts of your stop: reaching the site, connecting, any queue and returning to the route. Leave unknowns visible instead of assuming an empty charger.
Choose a charging stop around the energy required for the next leg and an appropriate reserve using the vehicle's guidance. A bigger peak number is useful only if the charging behaviour and available equipment suit the journey.
Include charging equipment and ordinary travel costs in your ownership budget. For information about financing the vehicle, see Loanseekers and keep charging assumptions separate from the purchase price.